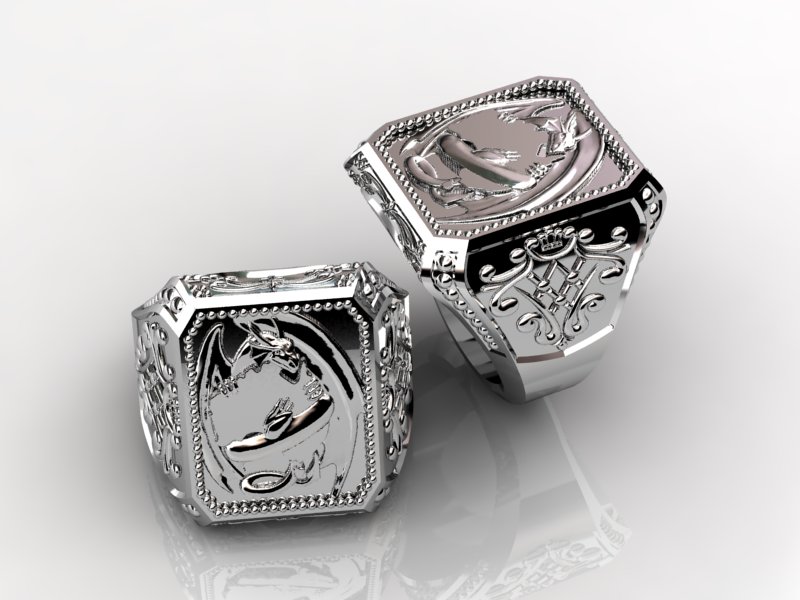
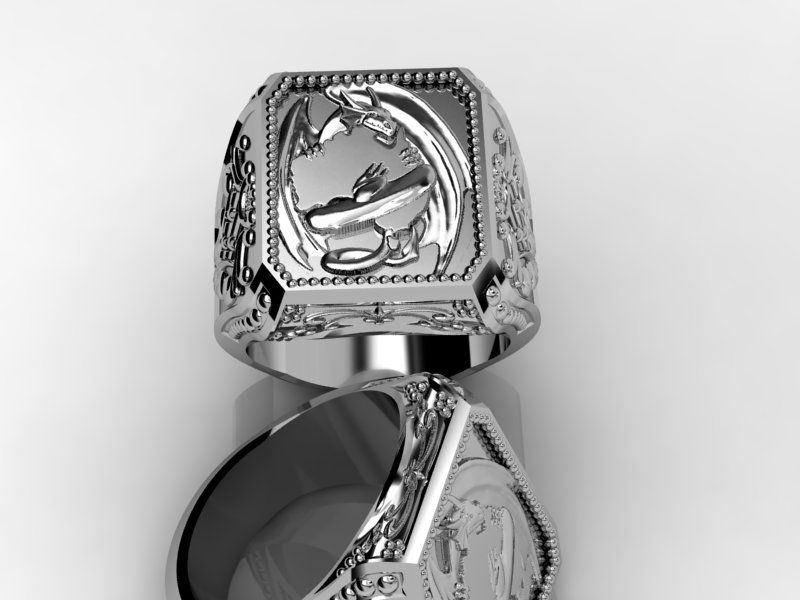
RhinoArt Draken Ring
Posted: Sun Jul 18, 2010 2:19 am
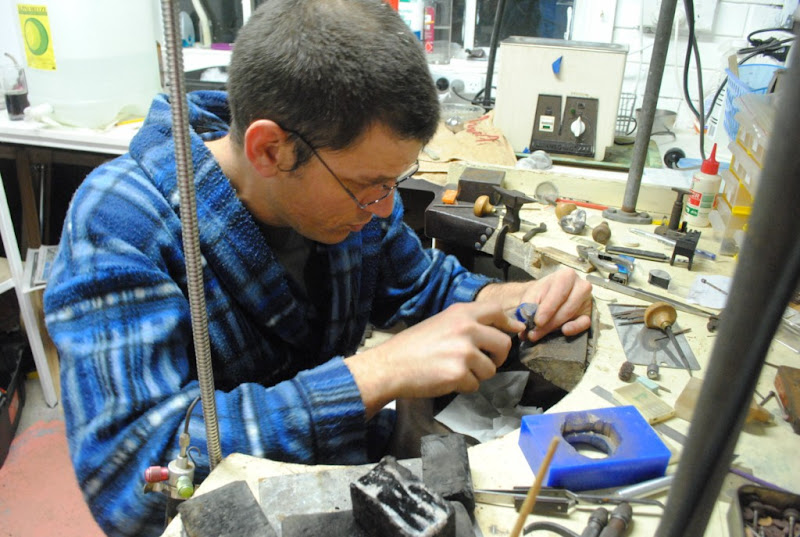
Had a chance to poke around with RhinoArt again 
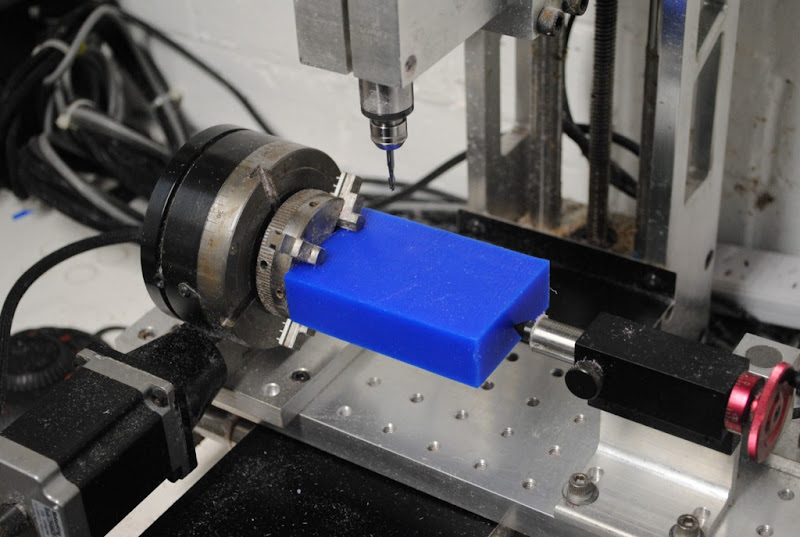
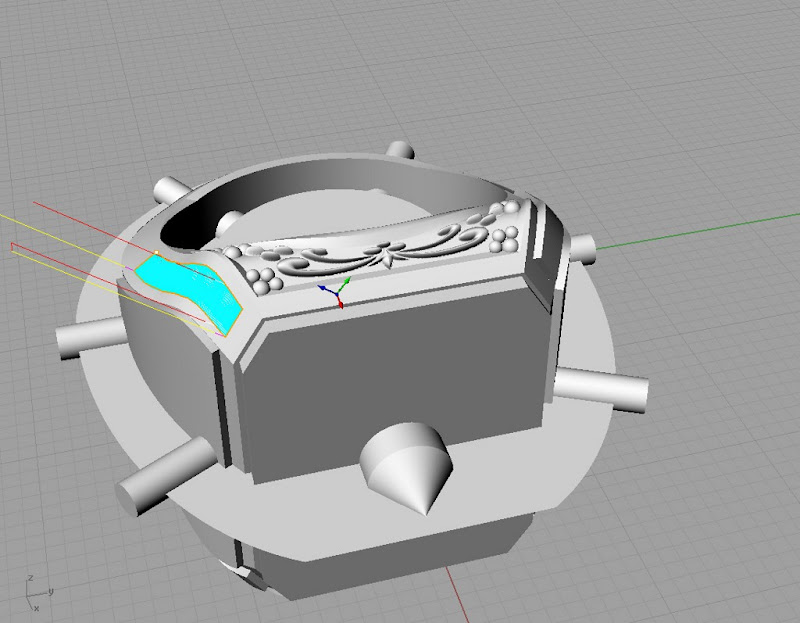
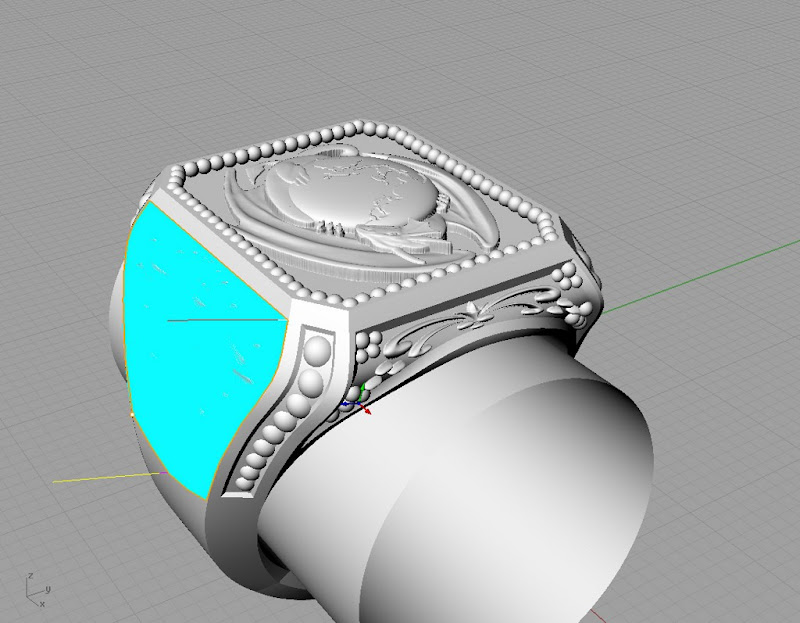
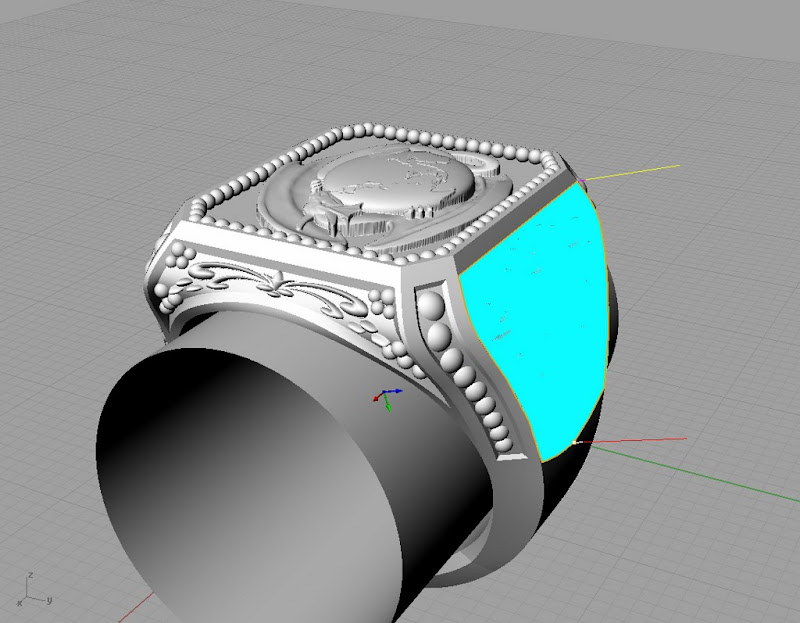
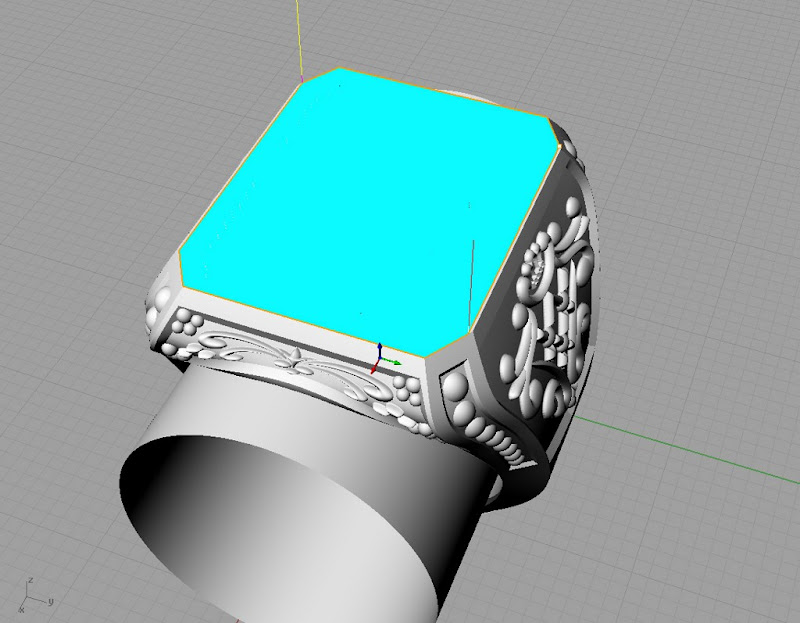
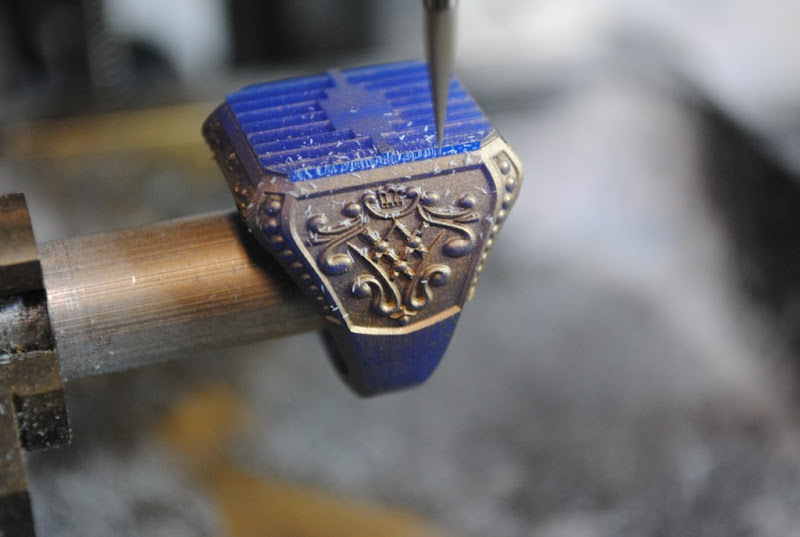
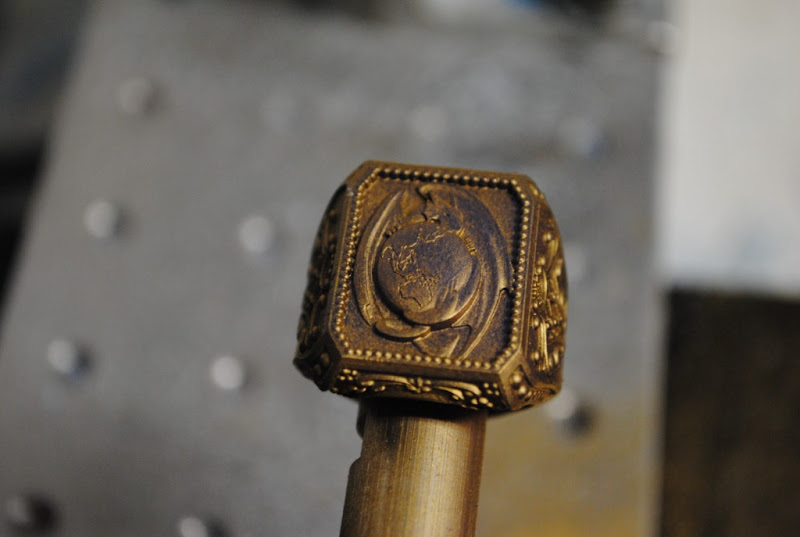
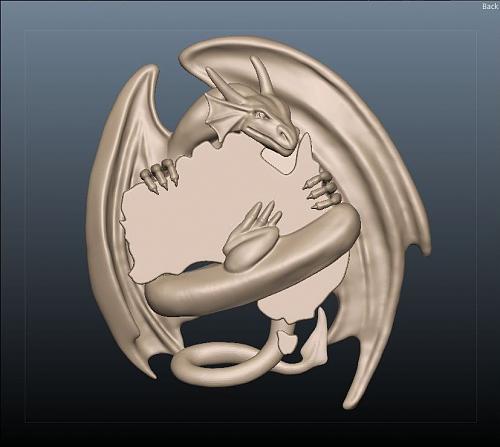
The Dragon itself was modelled by Colin Creed in Sculptris and 3DCoat. the Ring was Matrix3d and the floral inlays where RhinoArt.
Workflow (quoted from http://3dcadjewelry.com/forum)
 [/quote]
The Dragon itself was modelled by Colin Creed in Sculptris and 3DCoat. the Ring was Matrix3d and the floral inlays where RhinoArt.
Workflow (quoted from http://3dcadjewelry.com/forum)
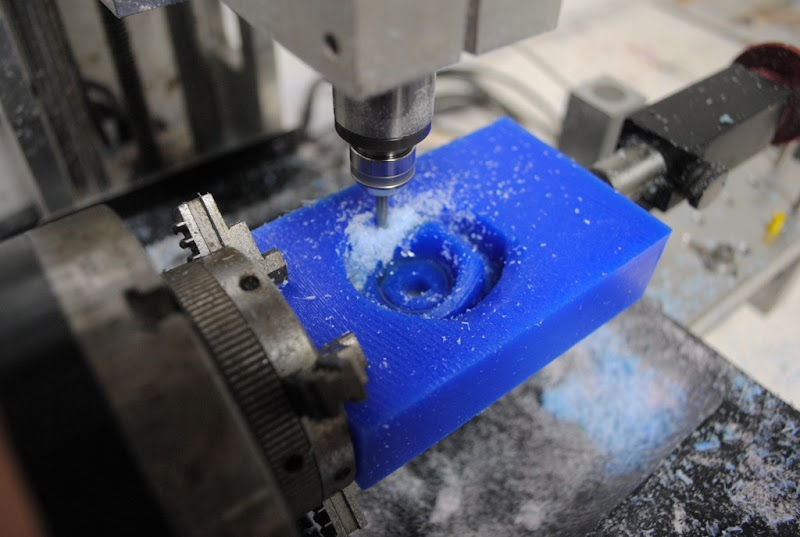
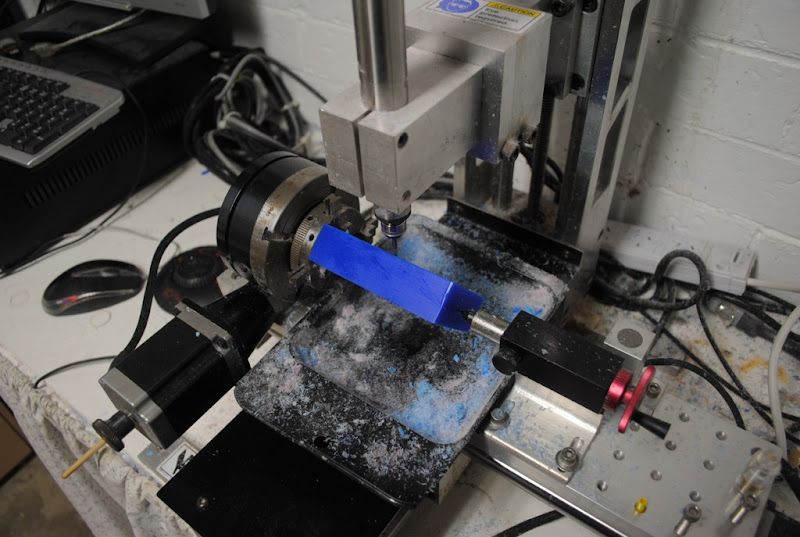
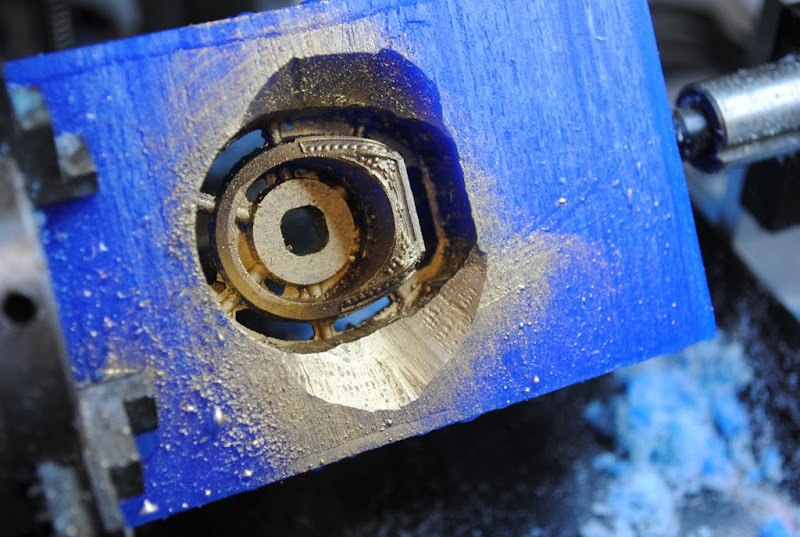
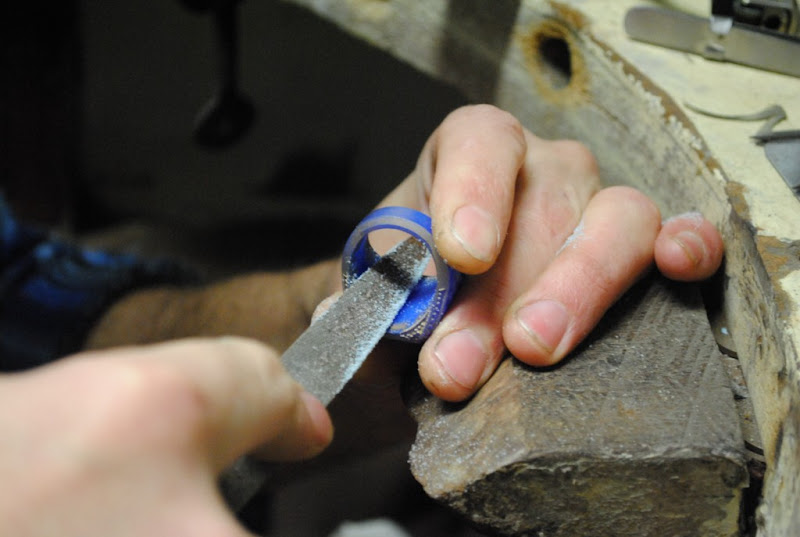
FYI on workflow for the balance here, had a few queries.
Dragon "decimate"
1: Import OBJ
2: Drape (with a few extra steps to produce a nice drape)
3: Trim
4: Cageedit.
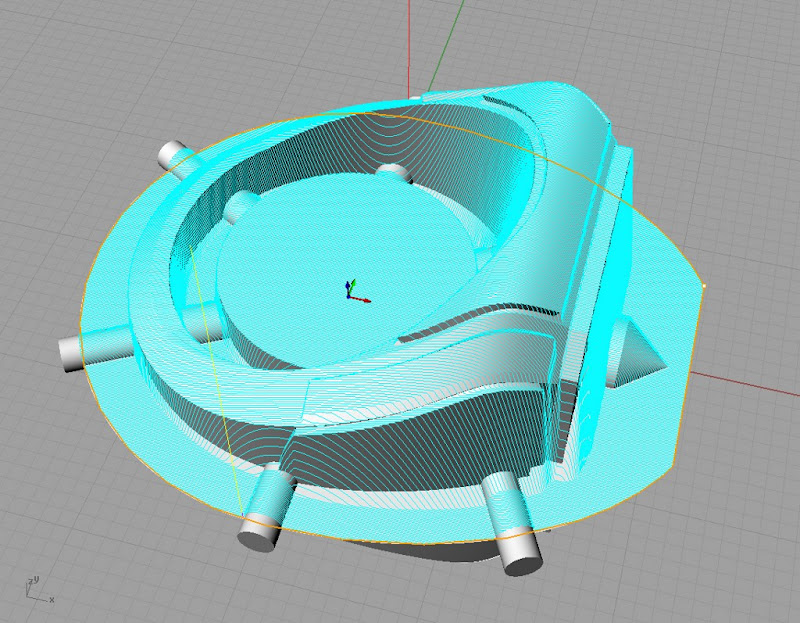
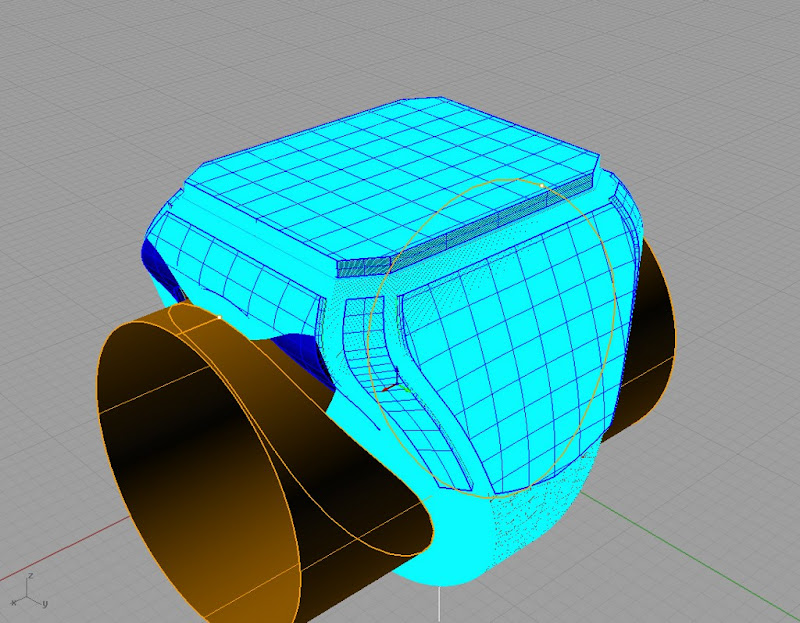
Ring
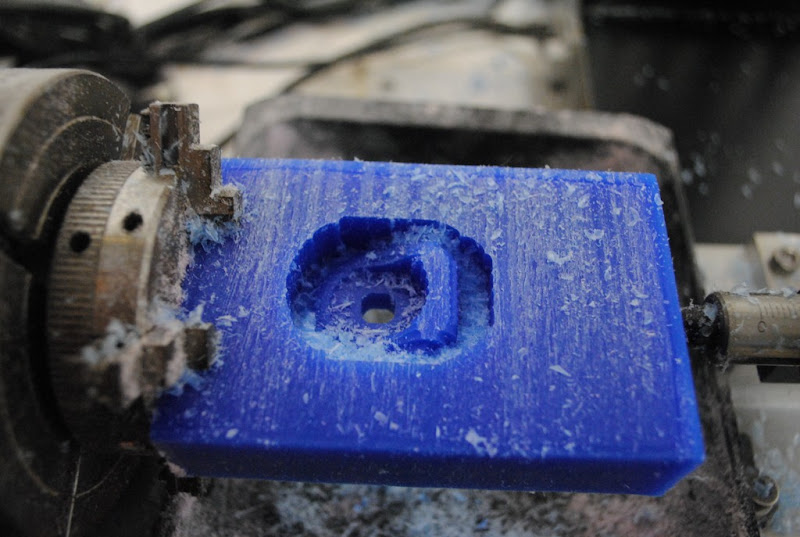
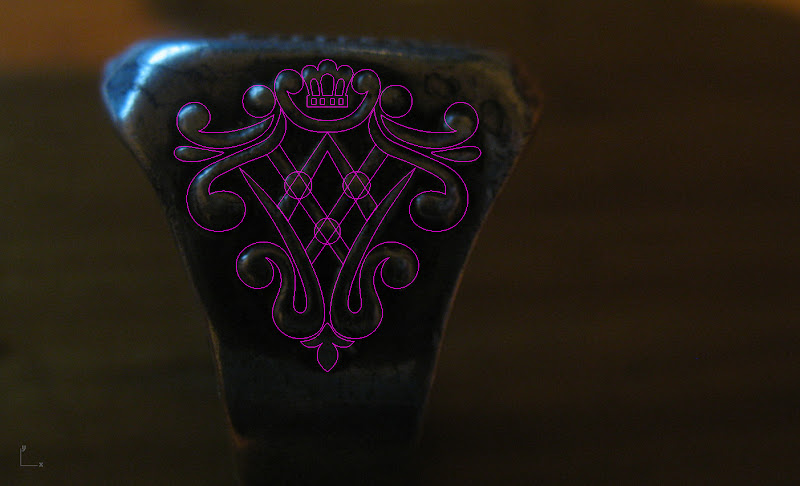
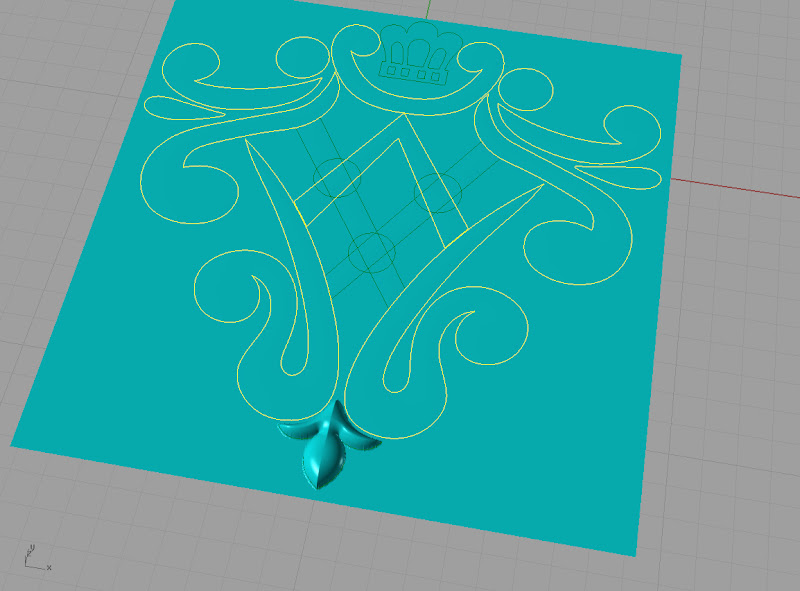
1: Curves as per picture from photograph.
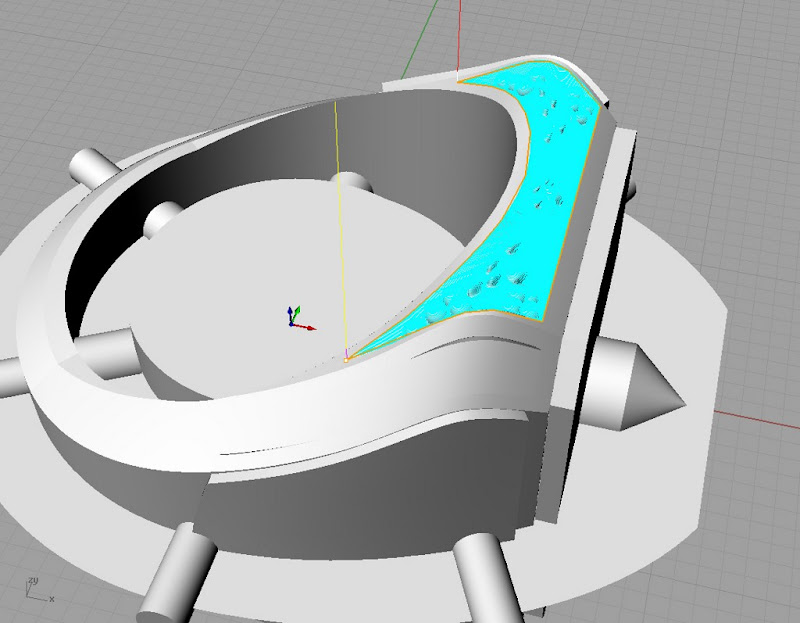
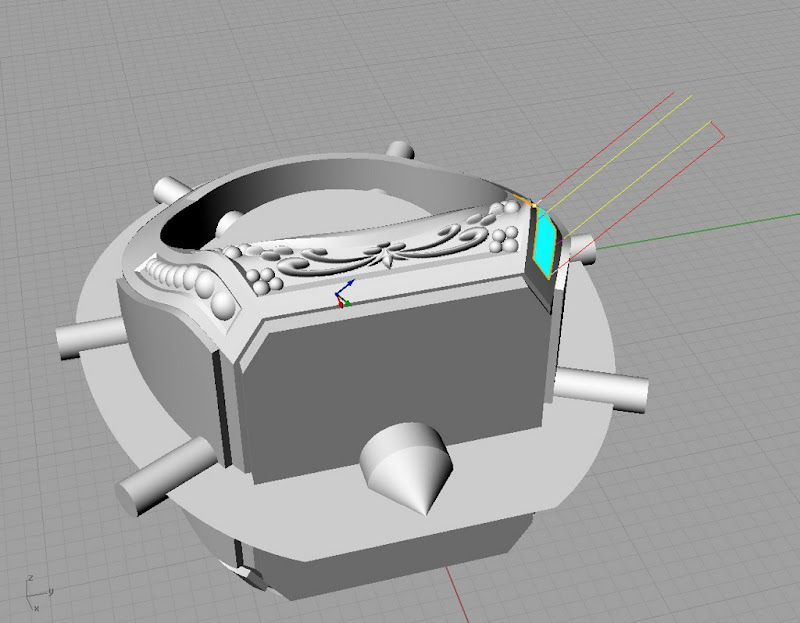
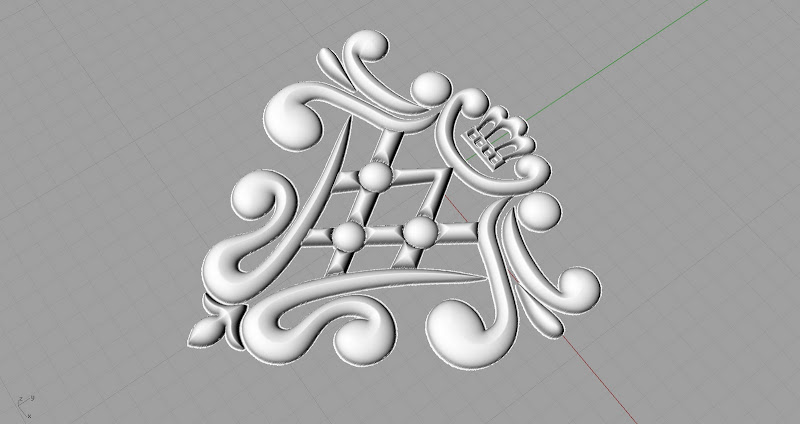
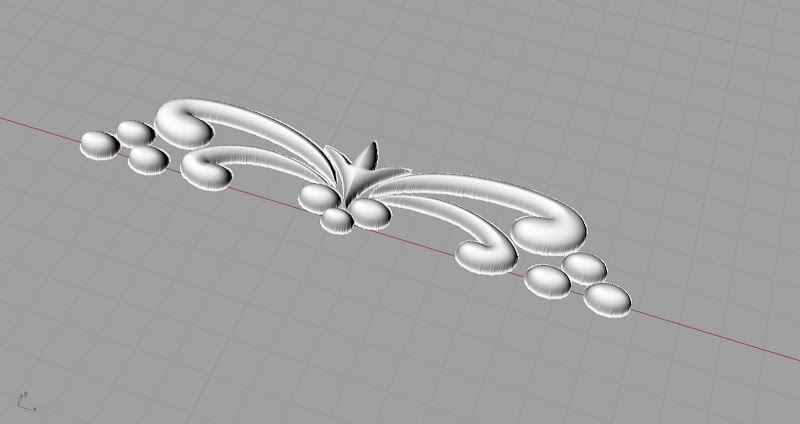
2: Scrolly patterns in RhinoArt
3: Ring in Matrix Signet Builder
4: Insets with Matrix Inset Tool
5: ExtractSrf all insets and CreateUvCrv
6: FlowAlongSrf the RhinoArt meshes.
7: Matrix Milligrain Tool.
8: Place Dragon
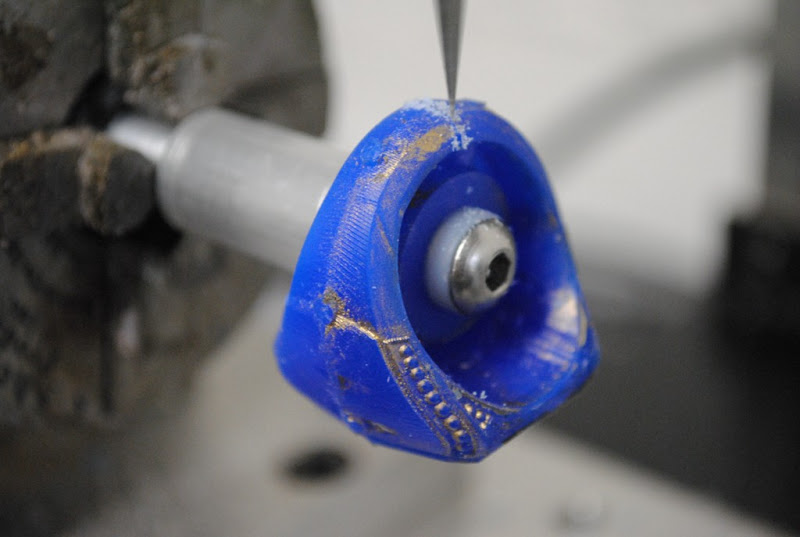
By far the drape and cageEdit of the dragon took the longest, the rest of the ring was childs play.
Big thanks to Colin
Owe you a beer.. oh ya and some $$$$
[/quote]