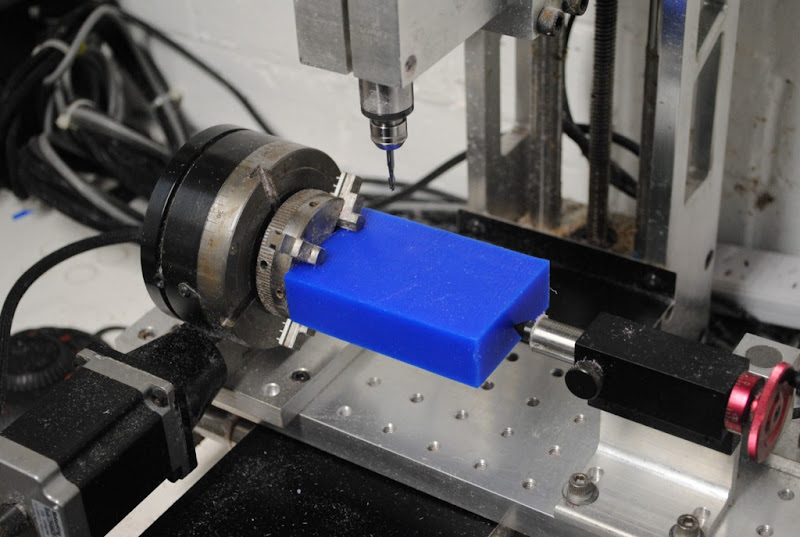
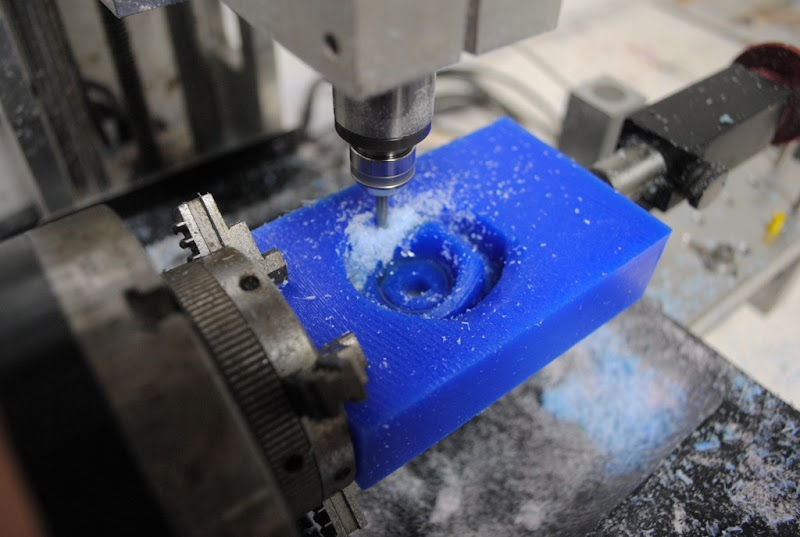
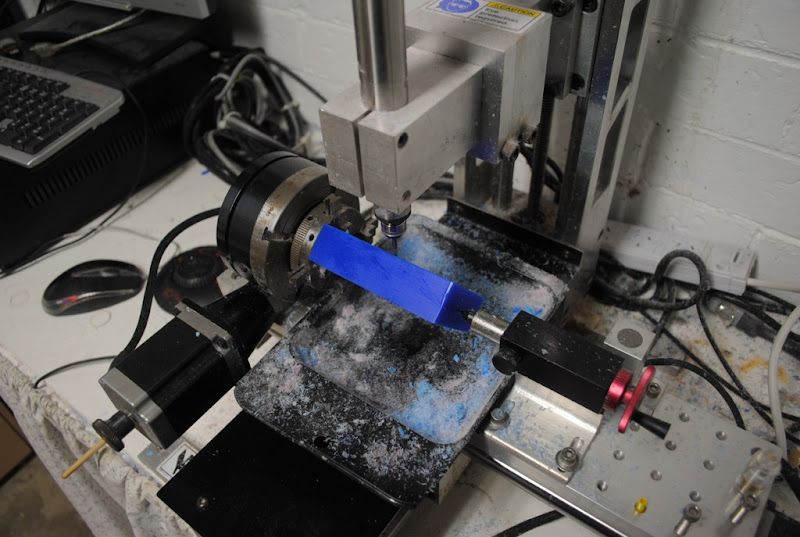
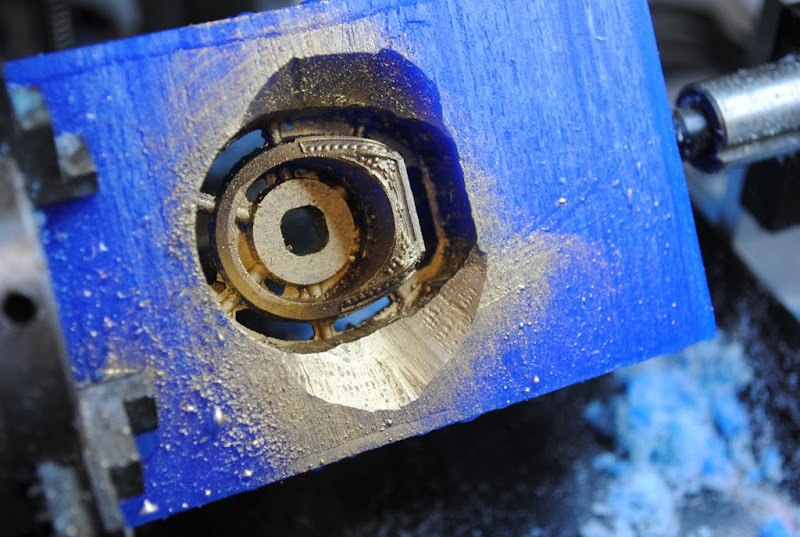
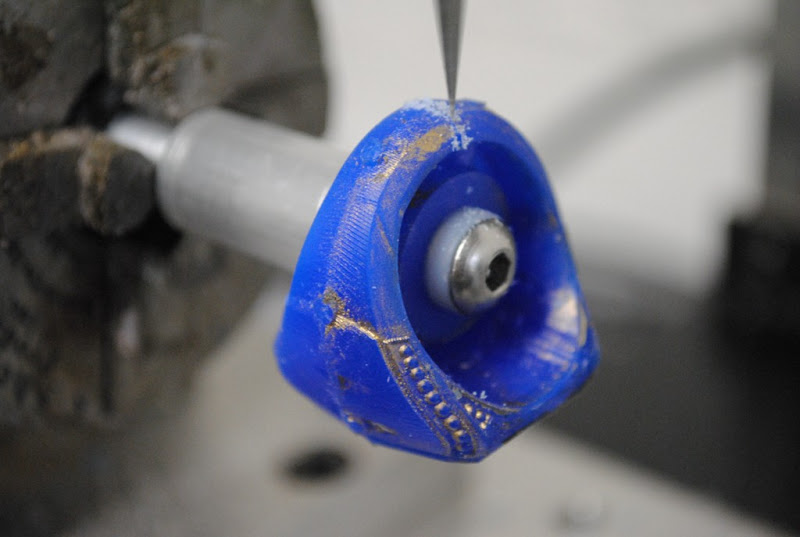
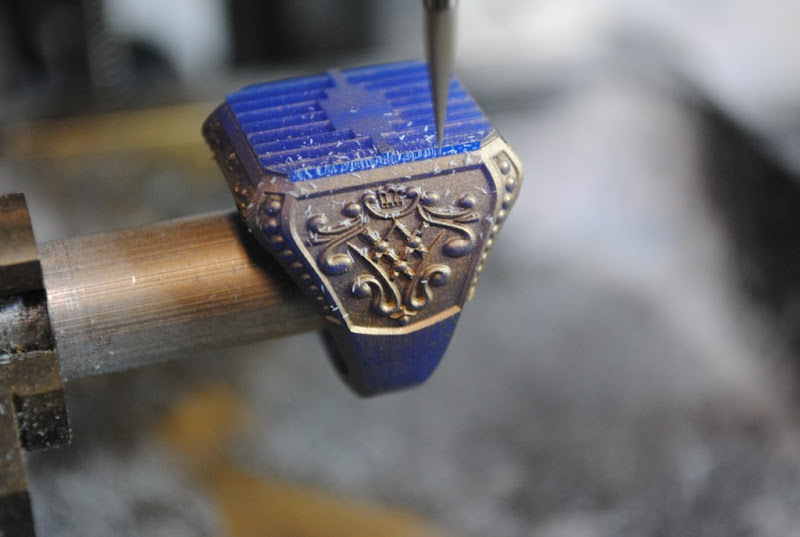
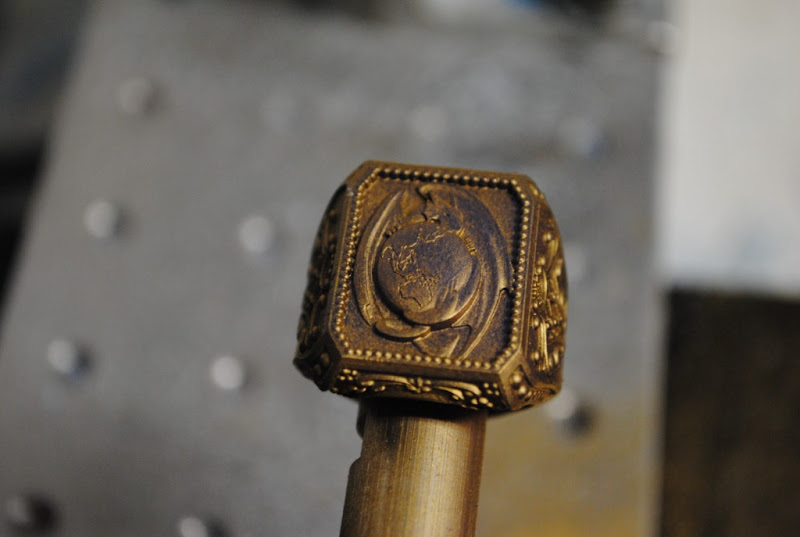
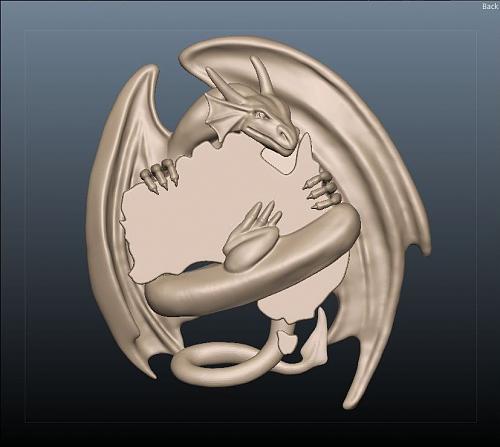
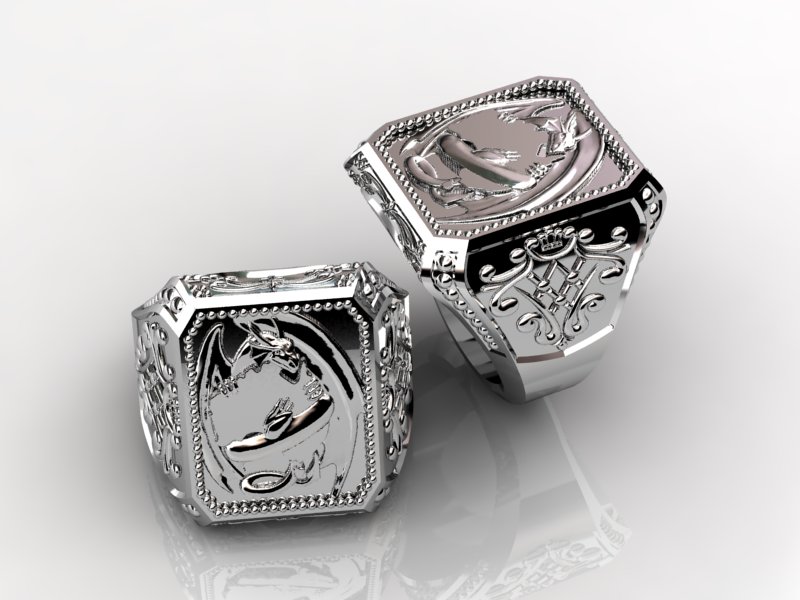
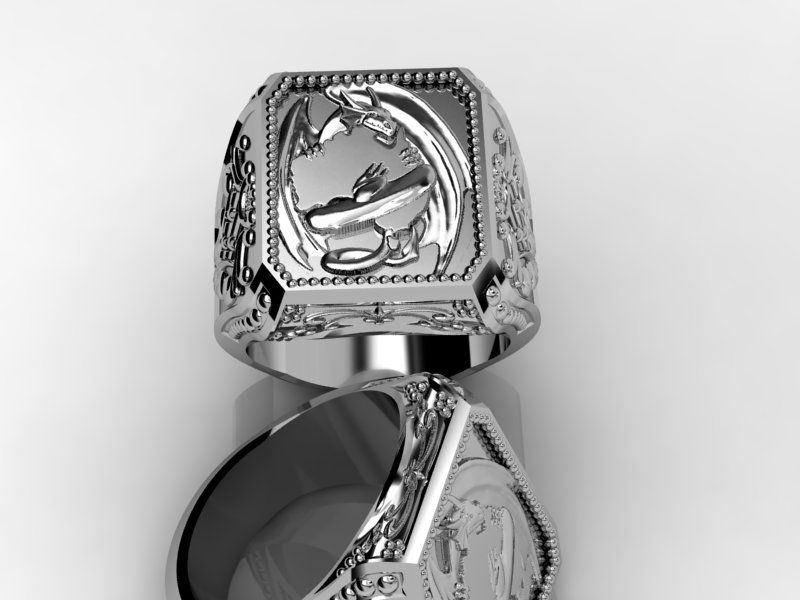
The Dragon itself was modelled by Colin Creed in Sculptris and 3DCoat. the Ring was Matrix3d and the floral inlays where RhinoArt.
Workflow (quoted from http://3dcadjewelry.com/forum)
FYI on workflow for the balance here, had a few queries.
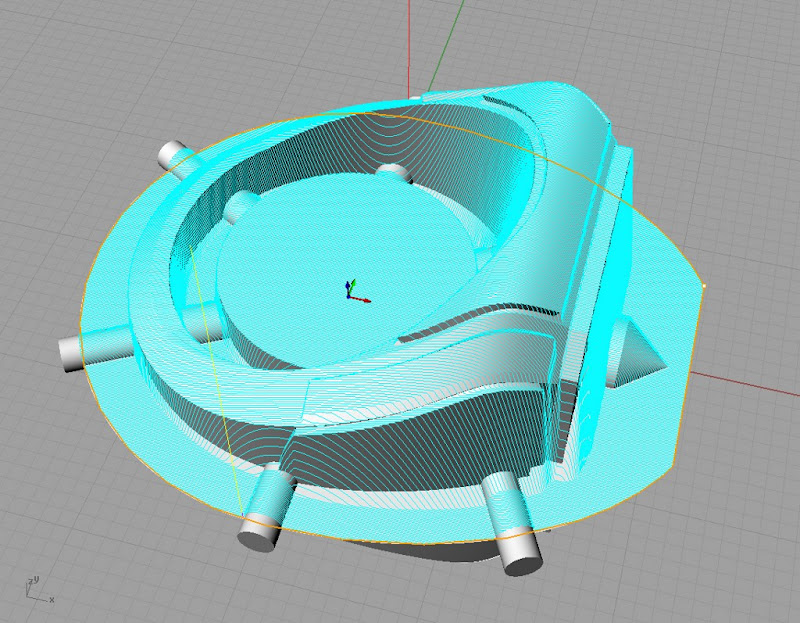
Dragon "decimate"
1: Import OBJ
2: Drape (with a few extra steps to produce a nice drape)
3: Trim
4: Cageedit.
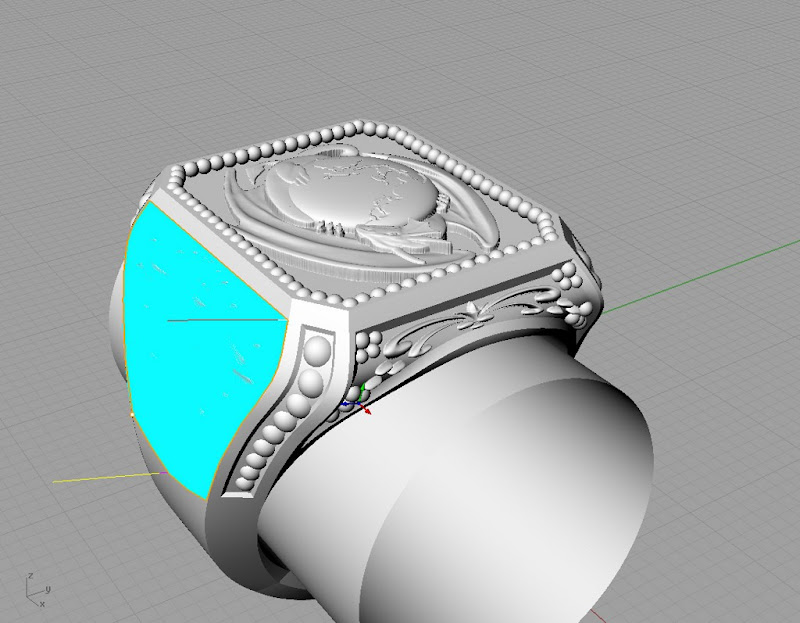
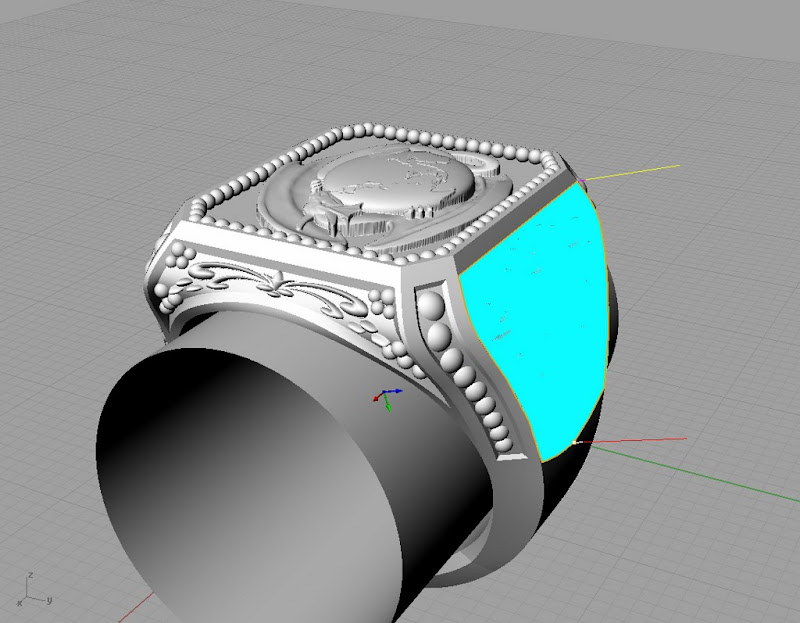
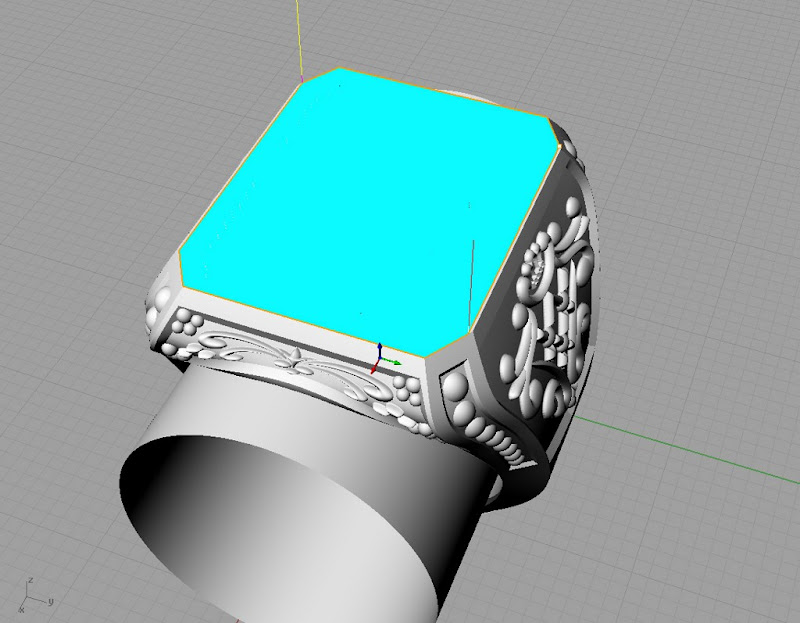
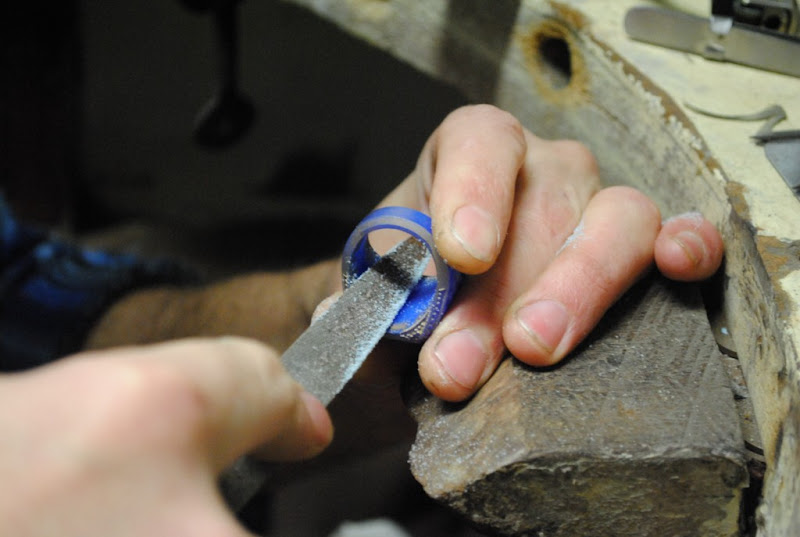
Ring
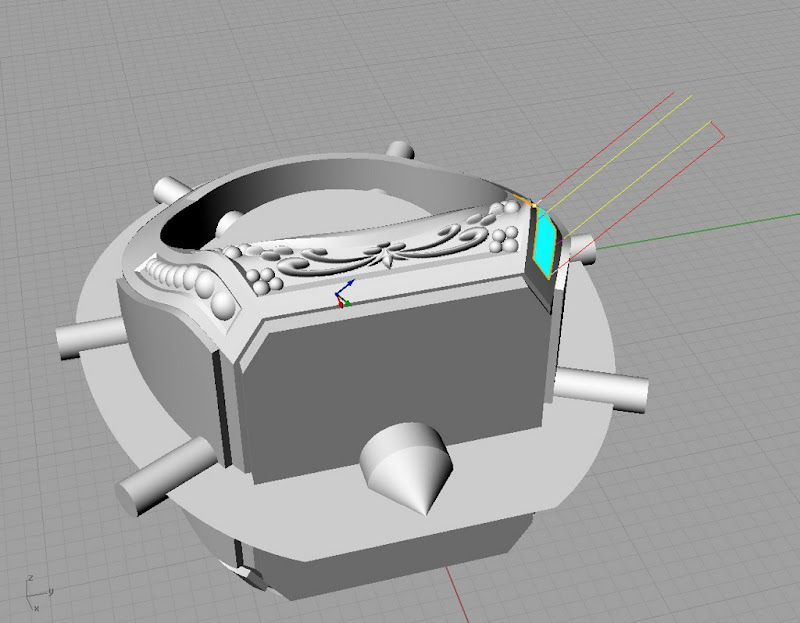
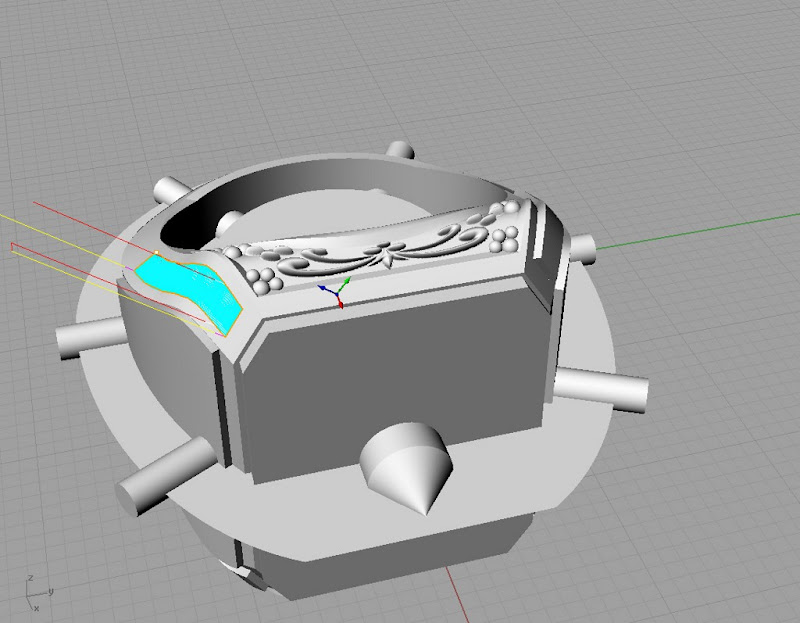
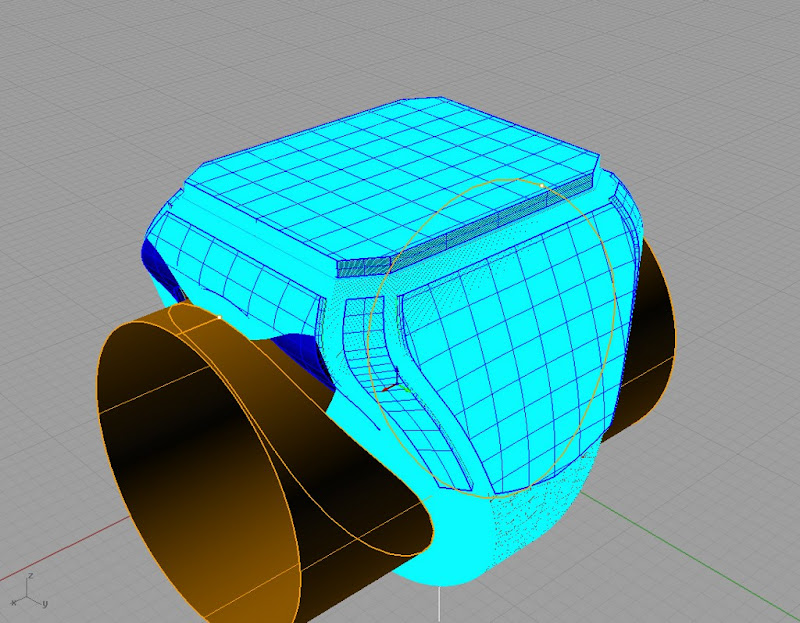
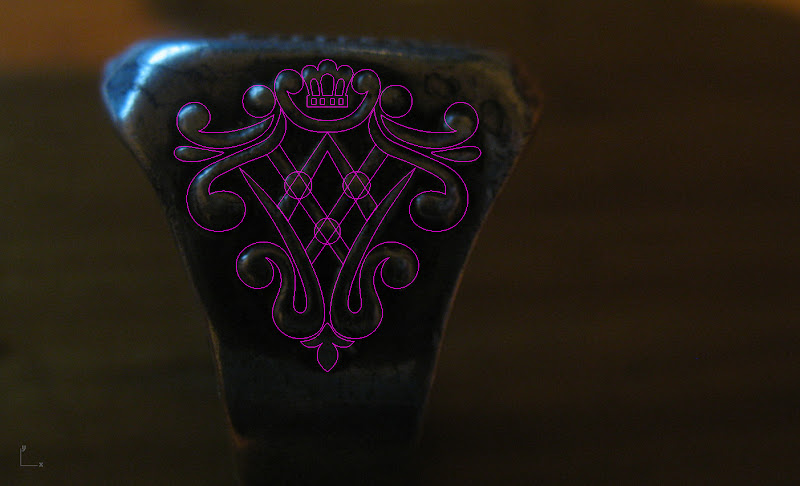
1: Curves as per picture from photograph.
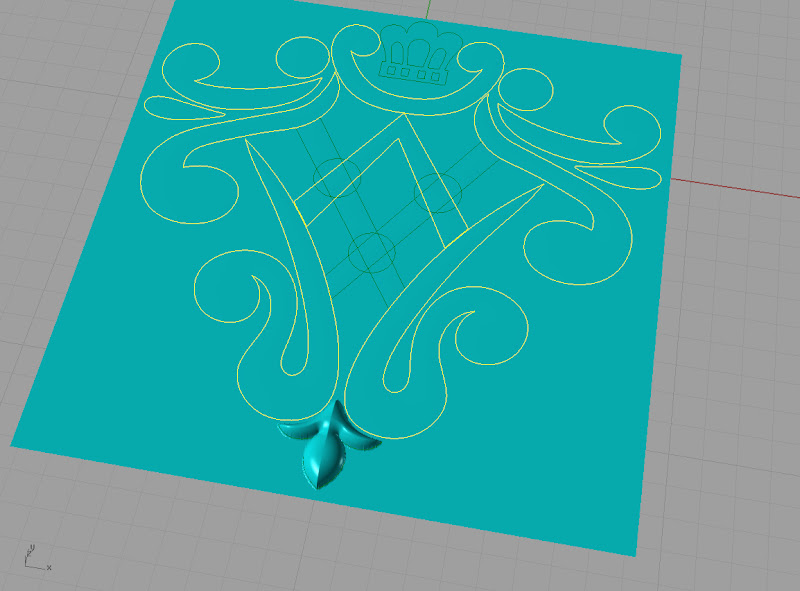
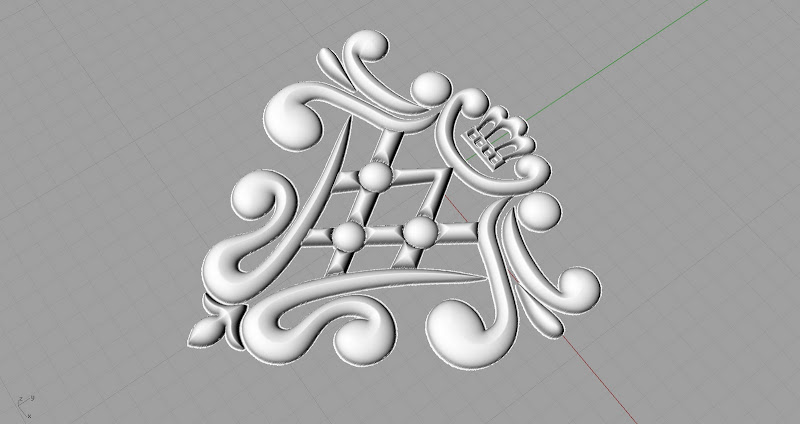
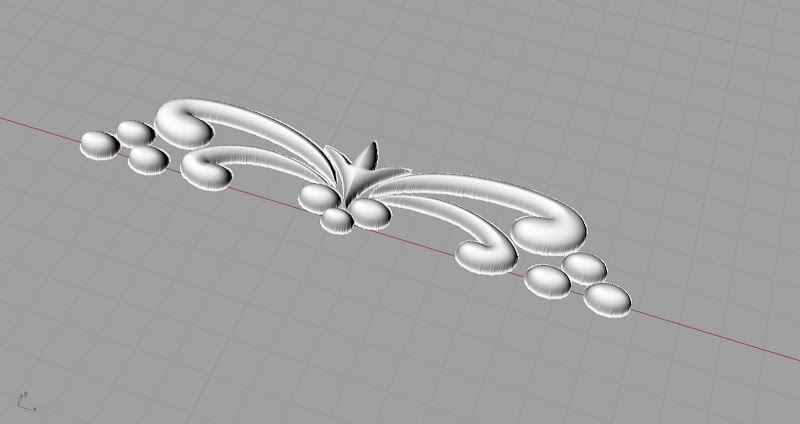
2: Scrolly patterns in RhinoArt
3: Ring in Matrix Signet Builder
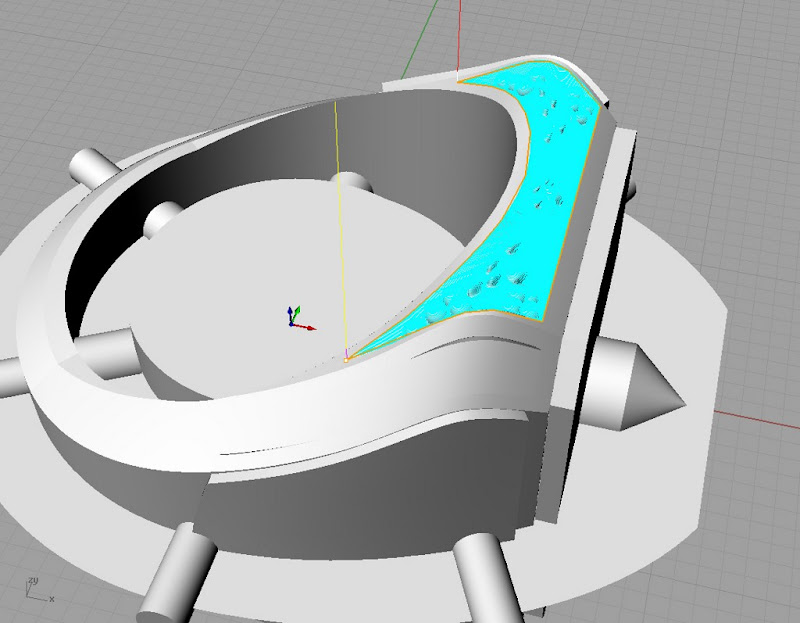
4: Insets with Matrix Inset Tool
5: ExtractSrf all insets and CreateUvCrv
6: FlowAlongSrf the RhinoArt meshes.
7: Matrix Milligrain Tool.
8: Place Dragon
By far the drape and cageEdit of the dragon took the longest, the rest of the ring was childs play.
Big thanks to Colin
Owe you a beer.. oh ya and some $$$$
 [/quote]